Considering a new TV? Deciding between a stand or wall mount is crucial. Wall mounting offers numerous benefits‚ enhancing your viewing experience and room aesthetics.
Benefits of Wall Mounting a TV
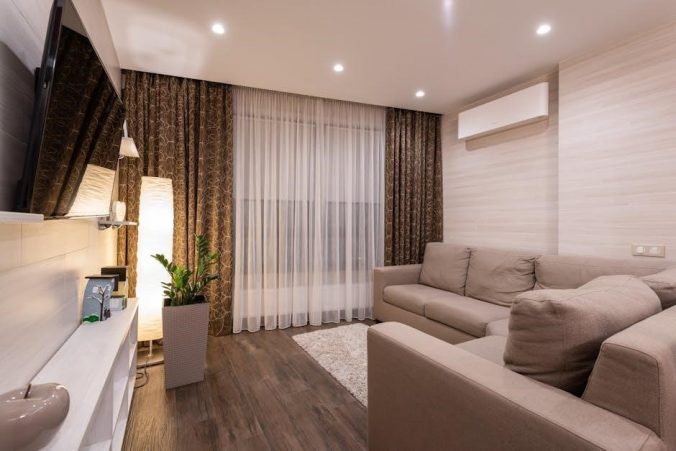
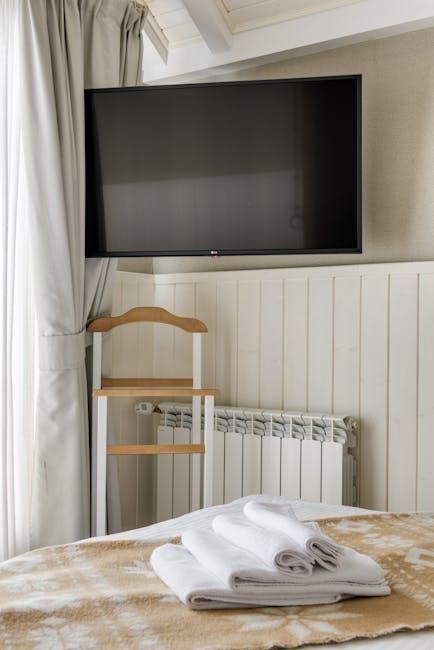
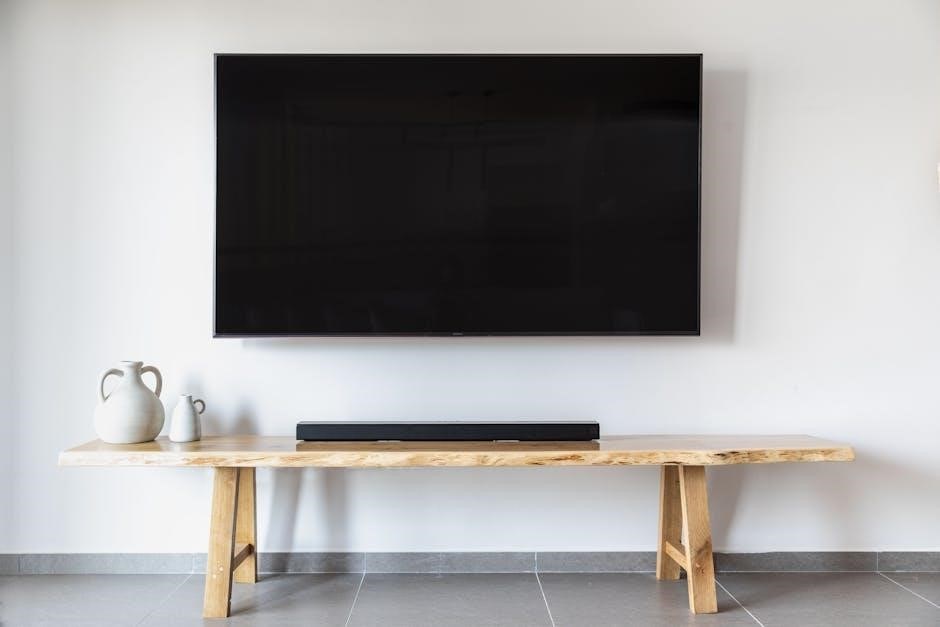
Wall mounting a TV presents compelling advantages. It maximizes space‚ particularly vital with larger screens in smaller rooms‚ eliminating the need for bulky media units. This creates a cleaner‚ more modern aesthetic‚ enhancing your living space’s appeal.
Furthermore‚ it offers increased safety‚ especially with children‚ keeping the TV out of reach. A well-mounted TV can also improve viewing angles and reduce glare. It’s a fantastic solution when a stand simply doesn’t fit or isn’t ideal for your room’s layout‚ providing a customized viewing experience.
When to Consider Wall Mounting
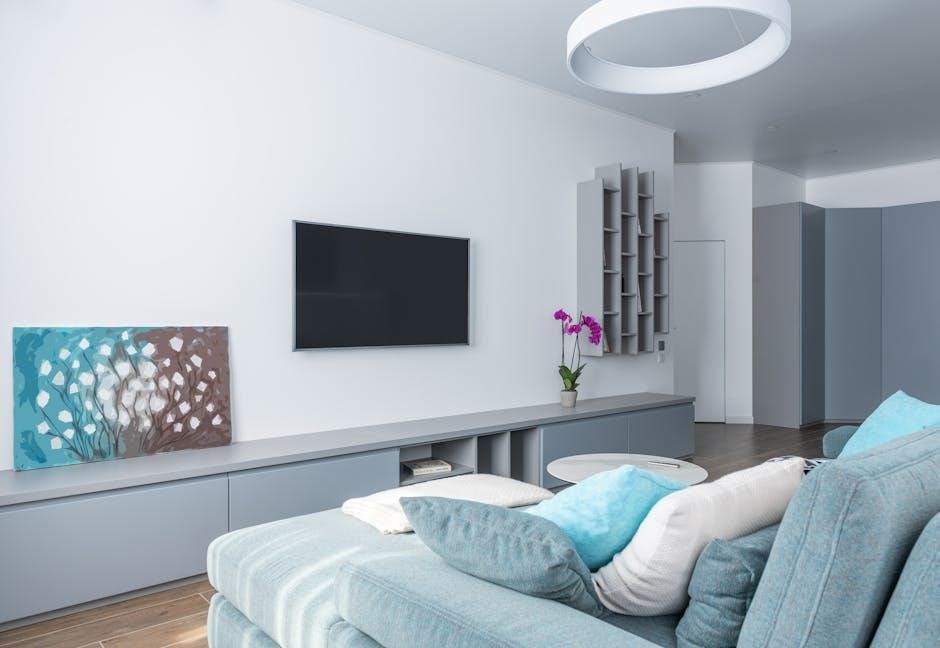
Consider wall mounting if space is limited; larger TVs often necessitate it. If your current TV placement isn’t optimal – perhaps due to glare or viewing angles – a wall mount offers flexibility.
Families with young children benefit from the increased safety of an out-of-reach screen. If you desire a sleek‚ modern look‚ eliminating a TV stand can dramatically improve room aesthetics. Finally‚ if you’ve recently purchased a new TV and want to maximize its impact‚ explore wall mounting options for a superior viewing experience.
Types of TV Wall Mounts
There are three primary bracket types: fixed‚ tilting‚ and full-motion (articulating). Each offers different levels of adjustability and viewing angles for optimal placement.
Fixed TV Mounts
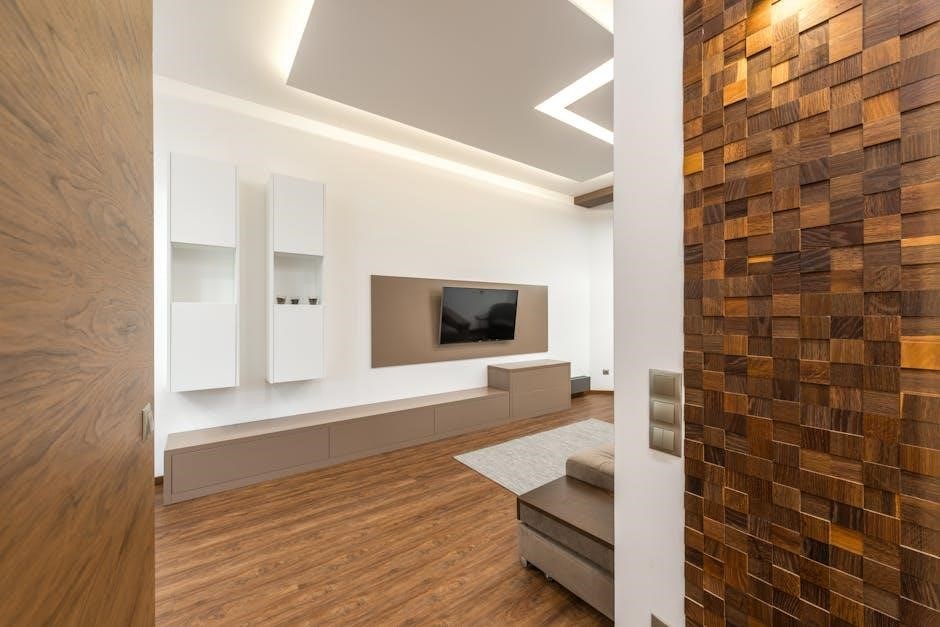
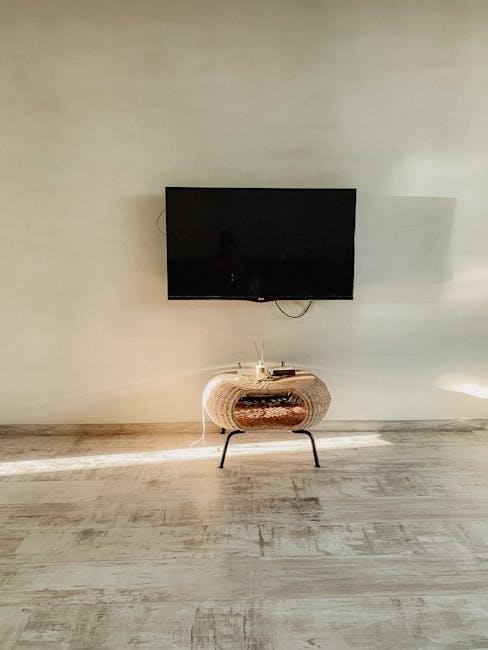
Fixed TV mounts are the simplest and most affordable option‚ holding your television flat against the wall. They offer a clean‚ minimalist look and are ideal for situations where you don’t anticipate needing to adjust the viewing angle. Installation is generally straightforward‚ making them a popular choice for DIY enthusiasts. However‚ remember that once mounted‚ the TV’s position is static – you won’t be able to tilt‚ swivel‚ or adjust it later. These mounts prioritize a flush profile and are best suited for direct‚ head-on viewing positions. They are a great starting point for wall mounting!
Tilting TV Mounts
Tilting TV mounts provide a slight improvement over fixed mounts by allowing you to adjust the vertical angle of the television. This is particularly useful for reducing glare from windows or overhead lights‚ and for optimizing the viewing experience if the TV is mounted higher on the wall. Installation is still relatively simple‚ though slightly more involved than a fixed mount. They offer a balance between affordability and functionality‚ providing a degree of flexibility without the complexity of full-motion mounts. Consider a tilting mount if you need minor adjustments to your viewing angle.
Full-Motion (Articulating) TV Mounts
Full-motion‚ or articulating‚ TV mounts offer the greatest flexibility. These mounts allow you to swivel‚ tilt‚ and extend your TV in multiple directions‚ providing optimal viewing angles from almost anywhere in the room. They’re ideal for larger TVs and rooms where viewing positions vary. Installation is more complex than fixed or tilting mounts‚ requiring careful attention to wall stud placement and weight capacity. While more expensive‚ the enhanced adjustability makes them a worthwhile investment for a truly customized viewing experience.
Tools and Materials Needed
Successful installation demands essential tools – drill‚ level‚ screwdriver – and mounting hardware like screws‚ bolts‚ and potentially wall anchors for secure attachment.
Essential Tools for Installation
A smooth TV mounting process relies heavily on having the right tools readily available. A power drill is paramount for creating pilot holes and securing the mount. A reliable level ensures your TV hangs perfectly straight‚ avoiding a visually jarring experience. Various screwdrivers – Phillips and flathead – are needed for different screw types. A stud finder is critical for locating wall studs‚ providing a secure anchor point. Don’t forget a measuring tape for precise placement‚ and a pencil for marking locations. Safety glasses protect your eyes from debris‚ and work gloves offer a better grip and hand protection during installation.
Necessary Mounting Hardware
Beyond the tools‚ specific hardware is essential for a secure TV installation. The TV wall mount itself is‚ of course‚ the primary component – choose one rated for your TV’s weight and size. Lag bolts are crucial for firmly attaching the wall plate to the studs. Washers distribute the pressure from the lag bolts‚ preventing damage to the wall. Spacers may be needed to accommodate cables or uneven wall surfaces. Consider zip ties or cable sleeves for neat cable management. Finally‚ ensure you have the correct screws to attach the bracket to the back of your TV.
Preparing for Installation
Proper positioning dramatically impacts enjoyment. Evaluate your viewing space and determine the optimal TV height before beginning the mounting process for best results.
Determining the Optimal TV Height
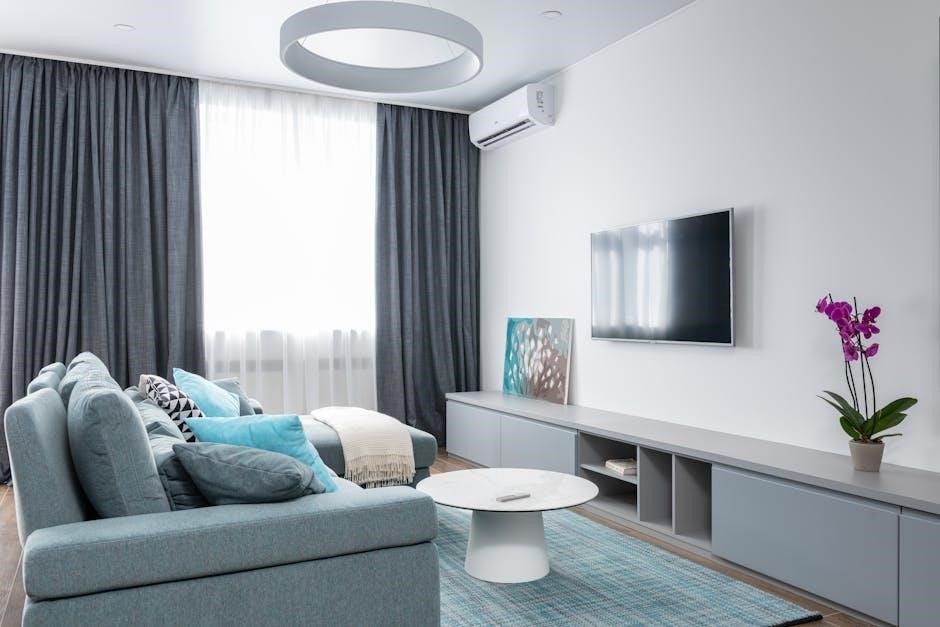
Achieving the ideal viewing experience hinges on correct TV height. Generally‚ the center of the screen should align with eye level when seated. This prevents neck strain during extended viewing sessions. Measure your typical seated eye height‚ then adjust the wall mount accordingly. Consider factors like sofa height and viewing distance. A slightly downward tilt can also improve comfort‚ especially for larger screens. Remember‚ a comfortable viewing angle enhances enjoyment and reduces fatigue. Prioritize ergonomics during installation for a truly immersive experience‚ ensuring long-term viewing pleasure and well-being.
Locating Wall Studs
Securely mounting your TV demands finding and utilizing wall studs. These vertical framing members provide the necessary support for the TV’s weight. A stud finder is an invaluable tool for this task; electronic models are readily available. Alternatively‚ you can locate studs by tapping the wall and listening for a solid sound‚ typically spaced 16 or 24 inches apart. Confirm stud locations with a small nail to verify solidity. Always anchor the mount directly into studs‚ never just drywall‚ to ensure a safe and stable installation. Proper stud location is paramount for safety.
Checking for Hidden Wiring and Plumbing
Before drilling‚ meticulously check for hidden electrical wiring and plumbing within the wall. This is a critical safety step! Utilize a stud finder with AC wire detection capabilities‚ or consider a specialized wire/pipe locator. Avoid areas where outlets‚ switches‚ or pipes are likely located. If uncertainty persists‚ consult a qualified professional. Drilling into wiring or plumbing can cause severe damage‚ electrical shock‚ or water leaks. Prioritize safety and thorough investigation to prevent costly and dangerous mistakes during your TV mounting process.
Mounting Bracket Installation
Securely attach the bracket to your TV and the wall plate to the studs‚ ensuring precise alignment and utilizing appropriate hardware for a stable foundation.
Attaching the Bracket to the TV
Begin by carefully laying your TV face down on a soft‚ protected surface to prevent scratches. Identify the VESA mounting holes on the back of the television – these are standardized screw patterns. Align the TV mounting bracket with these holes‚ ensuring it’s centered and oriented correctly.
Use the screws provided with your wall mount kit‚ selecting the appropriate length and diameter for your TV model. Avoid over-tightening‚ as this could damage the TV’s internal components. Double-check that the bracket is firmly attached and doesn’t wobble before proceeding to the next step. A secure attachment here is paramount for safety.
Securing the Wall Plate to the Studs
Locate the previously identified wall studs using a stud finder – accuracy is key! Position the wall plate against the wall‚ aligning it with the studs. Use a level to ensure the plate is perfectly horizontal. Mark the screw hole locations on the wall through the plate’s mounting holes.
Pre-drill pilot holes at the marked locations to make screwing easier and prevent the wood from splitting. Secure the wall plate to the studs using lag bolts and washers‚ tightening them firmly. Verify the plate is securely fastened and doesn’t move. This step is critical for supporting the TV’s weight.
Hanging the TV on the Wall Plate
Carefully lift the TV with assistance‚ aligning the TV’s mounting holes with the wall plate. Ensure a secure and snug fit before fully releasing.
Lifting and Aligning the TV
This step requires at least two people to safely manage the TV’s weight and size. Gently lift the television‚ carefully maneuvering it towards the securely mounted wall plate. Precise alignment of the TV’s mounting holes with those on the plate is critical for a stable installation.
Take your time and double-check the positioning before fully committing. Misalignment can strain the mount and potentially damage the TV or wall. Ensure the TV is centered and at the desired height before proceeding to the next stage – securing the attachment.
Ensuring Secure Attachment
Once aligned‚ carefully secure the TV to the wall plate using the appropriate bolts and washers provided with your mount. Tighten these fasteners gradually and evenly‚ avoiding over-tightening which could damage the TV’s frame or the mount itself.
Double-check that all locking mechanisms are engaged‚ if applicable. A firm‚ solid connection is paramount for safety. Gently test the TV’s stability by applying slight pressure – it should not wobble or shift. This confirms a secure and reliable installation‚ ready for cable management.
Cable Management
Effective cable management is key to a clean setup. Conceal wires within the wall or utilize sleeves and ties for a tidy‚ professional appearance.
Concealing Cables Within the Wall
For a truly seamless look‚ consider running cables inside the wall. This requires careful planning and potentially some DIY skills‚ or hiring a professional. You’ll need to create access points – often using low-voltage cable pass-through plates – behind the TV and near the source devices. Ensure you avoid running cables near electrical wiring or plumbing!
Low-voltage rated holes are essential for safety and code compliance. Cable concealment kits are available‚ simplifying the process. Remember to account for future cable changes or additions when planning the in-wall routing. A fish tape is incredibly helpful for pulling cables through wall cavities.
Using Cable Sleeves and Ties
If in-wall cabling isn’t feasible‚ cable sleeves offer a neat alternative. These flexible conduits bundle cables together‚ creating a cleaner appearance than individual wires. Choose sleeves that match your wall color for better camouflage. Velcro ties or zip ties are essential for securing cables within the sleeve and preventing tangling.
Strategically route the sleeved cables along baseboards or behind furniture. Avoid sharp bends that could damage the cables. Cable management boxes can further conceal connections near the TV or source devices‚ completing a polished and organized setup. Prioritize accessibility for future adjustments.
Post-Installation Checks
After mounting‚ ensure the TV is perfectly level and securely attached. Thoroughly test all TV functions to confirm proper operation and a successful installation.
Leveling the TV
Achieving a perfectly level television is paramount for optimal viewing comfort and aesthetic appeal. Use a spirit level placed atop the TV frame‚ checking both horizontally and vertically; Minor adjustments can be made by slightly loosening the mounting screws and gently shifting the TV’s position on the wall plate; Retighten the screws once level is achieved‚ ensuring not to overtighten. A tilted TV can strain the mount and create a visually distracting experience. Double-check from multiple vantage points within the room to guarantee accuracy‚ providing a professional and polished finish to your installation.
Testing TV Functionality
Post-installation‚ thoroughly test all TV functions to confirm a successful mount and proper connectivity. Power on the TV and cycle through various input sources – cable‚ streaming apps‚ gaming consoles – to verify signal integrity. Check audio output through all connected speakers or sound systems. Inspect for any visual distortions or flickering that might indicate a loose cable connection. Ensure all ports are accessible and functioning correctly. This comprehensive test confirms the mount hasn’t impacted the TV’s performance‚ guaranteeing a seamless entertainment experience.
Safety Precautions
Prioritize safety! Consider the TV’s weight capacity and ensure the mount can handle it. Always disconnect power before installation to avoid electrical hazards.
Weight Capacity Considerations
Crucially‚ verify the weight capacity of your chosen TV wall mount before purchasing. Exceeding this limit poses a significant safety risk‚ potentially leading to the mount failing and causing damage or injury; Determine your TV’s exact weight (without the stand!) and compare it to the mount’s specifications.
Remember to factor in any additional weight from cabling or accessories you might attach near the mount. Always err on the side of caution and select a mount with a higher weight capacity than strictly necessary. Reinforcing the wall is vital if the TV is heavy‚ especially with drywall installations – see specific mount guides for details.
Electrical Safety
Prioritize electrical safety throughout the TV wall mounting process. Always disconnect the TV and any associated devices from power before beginning installation; Avoid running power cables inside the wall‚ as this violates most electrical codes and creates a fire hazard.
If power outlets aren’t conveniently located‚ use a surge protector and manage cables externally‚ utilizing sleeves or ties for a neat appearance. Never attempt electrical work if you’re uncomfortable or unqualified; consult a licensed electrician. Carefully inspect all cables for damage before reconnecting.
Troubleshooting Common Issues
Addressing problems like an unlevel TV or unstable mount is common. Careful re-checking of bracket alignment and stud securement usually resolves these issues quickly.
TV Not Level
If your newly mounted television appears crooked‚ don’t immediately panic! A slight imbalance is often easily corrected. First‚ use a level placed atop the TV to confirm the degree of tilt. Loosen the mounting screws slightly – do not remove them entirely – allowing for minor adjustments. Gently nudge the TV into a level position‚ then retighten the screws securely.
Double-check that the wall plate itself is level; if it isn’t‚ you may need to re-secure it to the studs. Sometimes‚ even a minor imperfection in the wall can contribute to this issue‚ requiring shims for stabilization. Refer to your installation guide for specific leveling instructions related to your mount.
Mount Feels Unstable
A wobbly or unstable TV mount is a serious safety concern and requires immediate attention; First‚ carefully inspect all mounting hardware – screws‚ bolts‚ and washers – ensuring they are tightened to the manufacturer’s specifications. Verify that the wall plate is securely anchored to the wall studs; insufficient stud contact is a common cause of instability.
If the issue persists‚ consider the weight capacity of the mount. Exceeding the maximum weight limit can compromise its structural integrity. Consult your installation guide and potentially reinforce the wall if necessary. Do not continue using the mount if it remains unstable; professional assistance is recommended.
Specific Mount: OLED TV (AF9 Series) & SU-WL450
This guide details mounting the OLED AF9 Series TV using the SU-WL450 unit‚ emphasizing wall reinforcement for optimal stability and safety.
Reinforcing the Wall
Proper wall reinforcement is paramount when mounting‚ especially with larger OLED TVs like the AF9 series. The provided guide stresses this point‚ as inadequate support can lead to instability and potential damage. Assess your wall type – drywall alone isn’t sufficient. Locate wall studs precisely; mounting directly to these is essential. If studs aren’t optimally positioned‚ consider adding horizontal bracing between studs to distribute the TV’s weight. For brick or concrete‚ specialized anchors are required. Always consult the SU-WL450 installation manual for specific reinforcement recommendations tailored to your wall construction and the TV’s weight. Ignoring this step compromises safety.
Compatibility Checks
Before beginning‚ meticulously verify compatibility between your OLED TV (AF9 Series) and the SU-WL450 wall mount. The installation guide emphasizes confirming the TV’s VESA mounting pattern matches the mount’s specifications. Ensure the mount’s weight capacity exceeds the TV’s weight. Check for any physical obstructions on the TV’s rear panel that might interfere with bracket attachment. Review the guide’s diagrams to understand the required screw lengths and types. Incorrect components can damage the TV or compromise mounting security. Thorough compatibility checks prevent costly errors and ensure a safe installation.
Finding TV Wall Mount Installation Guides (PDF)
Numerous online resources and manufacturer websites offer downloadable PDF guides for TV wall mount installation‚ ensuring a smooth and correct setup process.
Online Resources for PDF Guides
A wealth of information awaits online for those seeking TV wall mount installation guides in PDF format. Websites dedicated to home improvement‚ like those offering DIY project instructions‚ frequently host downloadable guides. Searching specifically for your TV model and “wall mount PDF” yields targeted results. Furthermore‚ many AV equipment review sites compile links to manufacturer-provided documentation. Be sure to verify the guide’s compatibility with your specific mount and TV. Reputable forums dedicated to home theater enthusiasts also often share and archive useful installation PDFs‚ offering community-sourced support and advice alongside the official documentation.
Manufacturer-Specific Guides
Directly accessing the TV and wall mount manufacturer’s websites is paramount when seeking installation PDFs. These guides‚ tailored to their products‚ ensure compatibility and accuracy. Sony‚ Samsung‚ LG‚ and mount brands like Sanus or Peerless typically have dedicated support sections; Look for a “downloads” or “manuals” area‚ filtering by your TV model and mount. These PDFs often include detailed diagrams‚ parts lists‚ and crucial safety information. Utilizing these resources minimizes installation errors and safeguards your investment‚ offering the most reliable guidance available.
Advanced Mounting Techniques
For challenging installations‚ explore French cleat systems or mounting on brick/concrete. Detailed PDFs are essential for these techniques‚ ensuring structural integrity.
Mounting on Brick or Concrete Walls
Successfully mounting a TV on brick or concrete requires specialized techniques and hardware‚ differing significantly from standard stud mounting; PDF installation guides become absolutely critical here‚ detailing the necessity of using robust concrete anchors designed to support the TV’s weight. These guides will illustrate proper drill bit selection – typically carbide-tipped – and the correct anchor depth for secure holding.
Furthermore‚ they emphasize the importance of identifying solid brick or concrete‚ avoiding mortar joints which lack sufficient strength. Always consult the mount’s weight capacity and ensure the wall can handle the load‚ referencing the PDF for specific recommendations. Professional installation is often advised for these surfaces.
Using a French Cleat System
A French cleat system offers a remarkably strong and flexible TV mounting solution‚ particularly useful for heavier displays or when precise leveling is paramount. Detailed PDF installation guides are essential for understanding this method‚ as it deviates from traditional bracket setups. These guides illustrate creating two interlocking wooden cleats – one attached to the wall‚ the other to the TV – distributing weight evenly.
PDFs emphasize accurate cleat angle cutting (typically 45 degrees) and secure attachment to wall studs. This system allows for easy TV removal and repositioning‚ but requires careful planning and precise execution as outlined in the guide.
Leave a Reply
You must be logged in to post a comment.